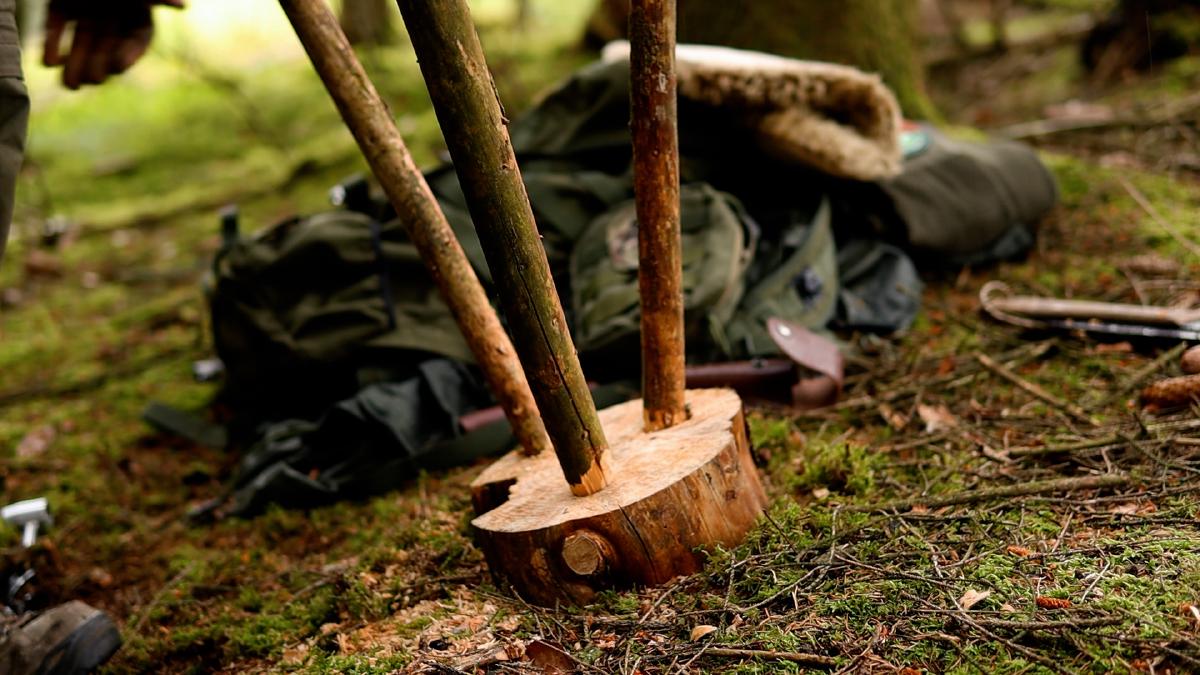
There is something satisfying about sitting on a piece of furniture you just built from raw wood in the forest. No hardware store, no screws, no glue, just trees, a few hand tools and patience. A tripod stool is one of the most practical camp projects there is: it stands stable on uneven ground, is surprisingly comfortable and teaches joinery skills that carry over to bigger builds.
Here is how to build one entirely in the woods, with a hand auger.
What You Need#
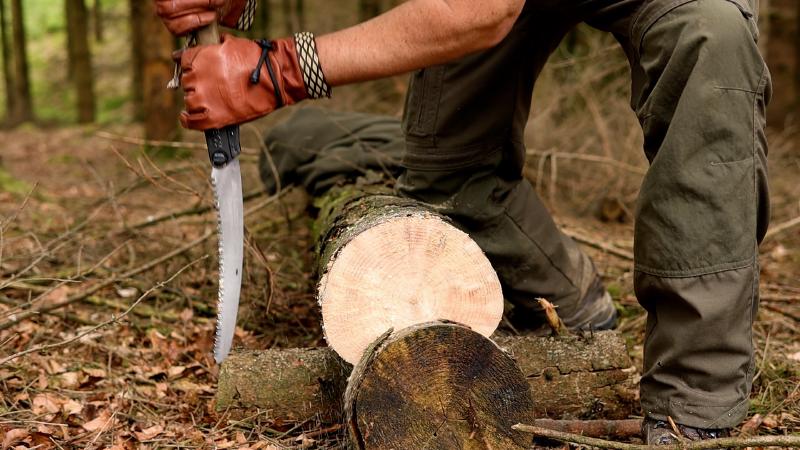
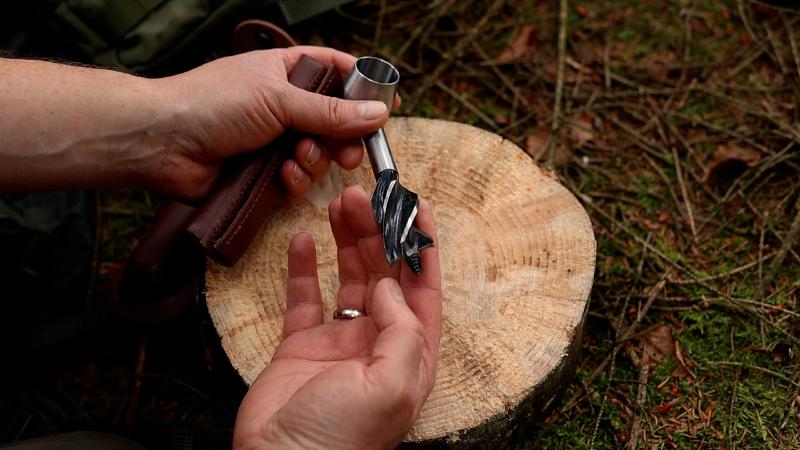
The tool list is short, and that is part of the appeal. You need three things. First, a bushcraft auger, the star of the project: it bores clean, deep holes into green wood with almost no effort. Pick a diameter to match your leg stock, around 25 to 30 mm. Second, a folding saw. I use the Silky Gomboy Outback 240, which cuts hardwood and softwood cleanly, but any decent bushcraft saw will do. Third, a sturdy knife: the Joker Bushcrafter works for batoning, carving tenons and debarking. The built-in fire steel is a nice camp bonus, though you do not need it for the build itself.
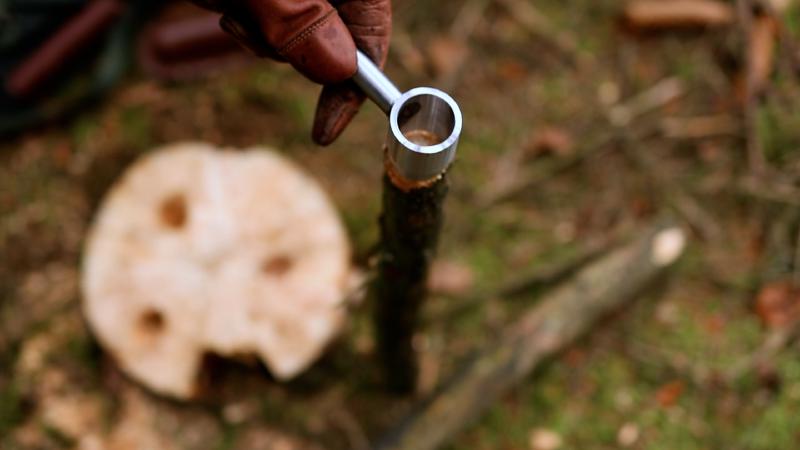
That is it. No cordless drill, no mallet. Just hand-powered tools that fit in a daypack.
Choosing Your Wood#
This is the step that makes or breaks the project. You need two types of material:
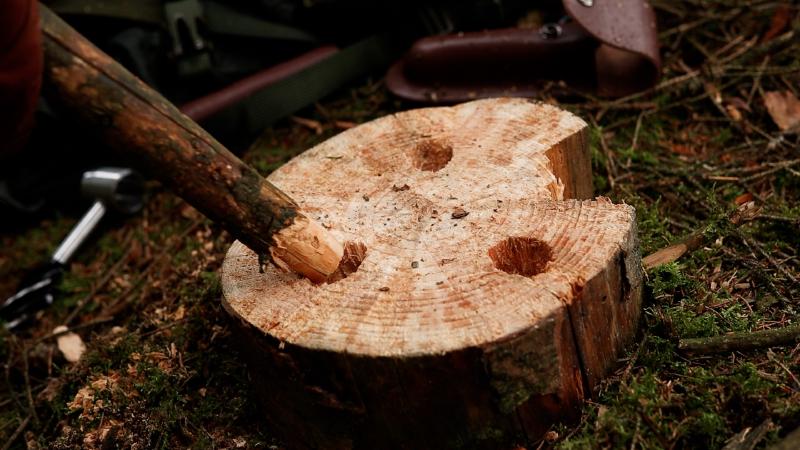
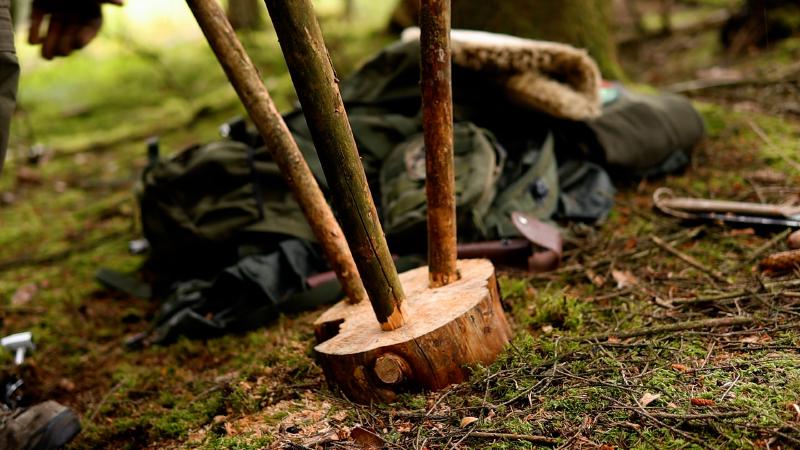
For the legs, look for straight hardwood branches about wrist-thick (4 to 5 cm diameter). Hazel, birch or young beech work well. Avoid anything with a strong curve or thick side branches, the legs need to sit at a consistent angle, so straight stock matters.
For the seat you need a wider piece, around 20 to 25 cm across and at least 3 to 4 cm thick. This is the tricky part. Finding the right piece in the forest means either sawing a thick section from a fallen trunk and splitting it, or locating a naturally flat piece of deadwood. Green wood drills more easily but is heavier; dry wood is lighter but harder on the auger. In my experience a slightly weathered but still solid slab is the best compromise, dry enough to carry, moist enough for clean holes.
Stay away from punky, rotten wood for the seat. It may look flat and promising, but it cracks under load.
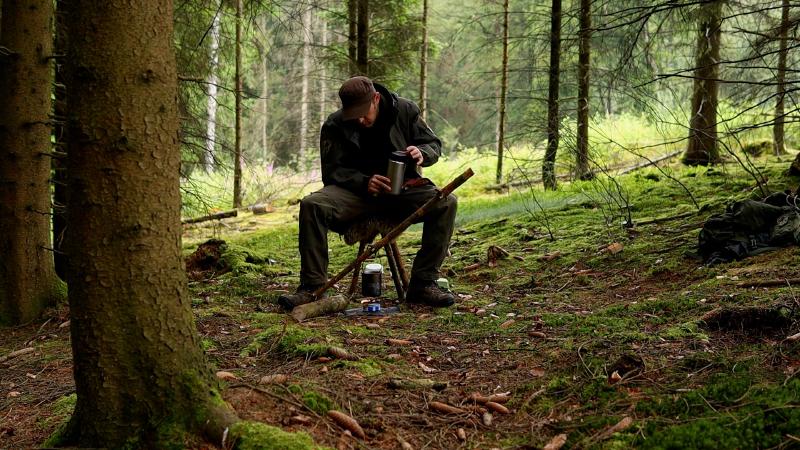
Building the Stool Step by Step#
1. Prepare the legs. Saw three pieces to roughly the same length, around 40 to 45 cm gives a comfortable sitting height once they stand at an angle. With the knife, carve a slight taper on one end of each leg. That taper becomes the tenon that goes into the seat. Aim for a snug fit to the auger diameter. Too loose and the joint wobbles; too tight and you risk splitting the seat.
2. Shape the seat. Saw your seat piece roughly round or as a rounded triangle. It does not need to be perfect, organic shapes look better out here anyway. Debark the edges for a cleaner look, or leave them natural.
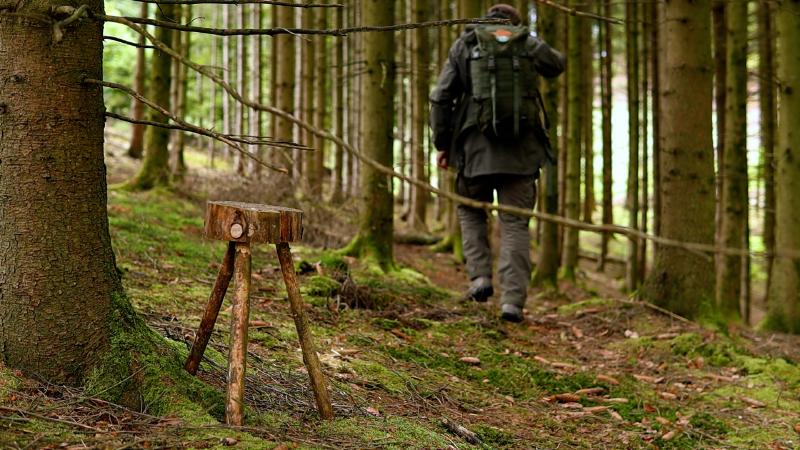
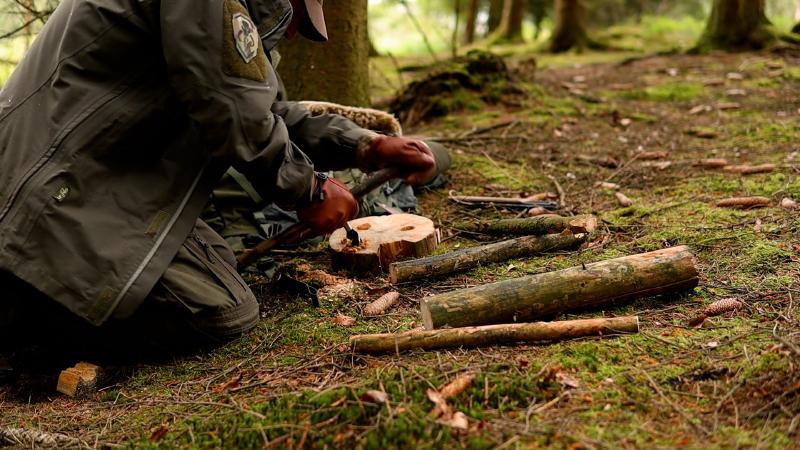
3. Bore the holes. Flip the seat onto its underside. Mark three points in an even triangle, each 3 to 4 cm in from the edge. Now the satisfying part: set the auger tip on the mark, press down lightly and turn. Let the screw tip pull itself in, no force. Bore at a slight outward angle (about 10 to 15 degrees from vertical) so the legs splay outward for stability. Consistency matters more than the exact angle: try to bore all three the same.
4. Fit the legs. Push each tapered tenon into its hole. If a leg sits too loose, carve a small wedge from a scrap and tap it into the tenon alongside the leg to lock the joint. If a leg is too tight, shave the taper down gradually until it seats fully.
5. Level and test. Stand the stool upright on fairly even ground. If it rocks, trim the longest leg a millimeter at a time until all three feet touch. Tripod designs are self-leveling on rough terrain by nature, so usually only minor corrections are needed.
Tips From the Field#
Bore from the underside of the seat, not the top. That way any blowout lands on the sitting side, which you can clean up, instead of the underside where the joint needs to sit tight. Green-wood legs in a drier seat create a natural clamping effect, because the seat material shrinks around the tenon as it dries, an old chairmaker’s trick that works beautifully in the woods. Do not overthink the seat shape: a rough triangle or oval is stronger than a perfect circle, since more material stays between the holes and the edge. And the splay angle counts. Too vertical and the stool feels tippy, too splayed and the legs become a trip hazard. Around 10 to 15 degrees outward is the reliable range.
A finished bushcraft stool weighs next to nothing, stands reliably by the fire and gives your back a real break. Once you have built one, you will look at every fallen log differently.
If you want to watch the full tour, you can find the video here: https://youtu.be/PBWOvrgCB1E.